If you’re a student, you’re probably always on the lookout for ways to cut costs wherever possible. And a free online word processor like Google Docs, is a popular alternative. It’s where you go when you need to share, edit and store documents.
But do you always have what you need when working with Google Docs? Now that Google Drive offers Google Docs and Sheets add-ons, you do. They offer more functionality and flexibility when creating complex documents online. If you haven’t tried these out yet, you should.
The life of a student is made up of a lot of information, and you need to be able to break down, organize, write, and carefully cite your arguments. With Google Docs and Sheets add-ons, you can now accomplish almost everything needed to write a paper, from start to finish.
Here’s a quick guide on what we thought were the handiest add-ons for the job.
Plan Out Your Argument With Gliffy Diagrams
One of the first steps for creating any paper is the outline. For an essay of any notable length, you need to map out your arguments clearly and effectively. In Google Docs, you can use the Gliffy diagrams add-on where you can easily create a flow chart or mind map on your topic.
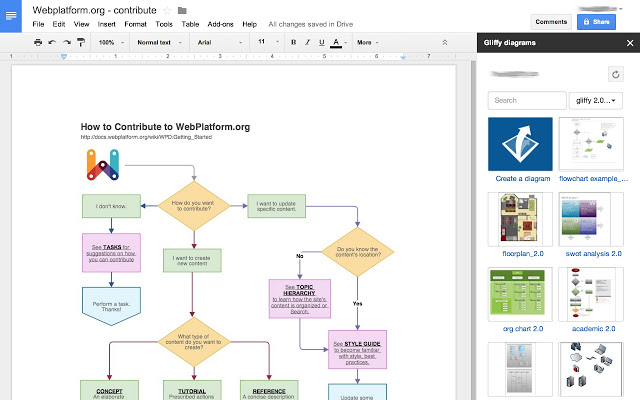 Image Credit: Gliffy.com
The add-on takes you to the Gliffy site where you can start creating a simple map out of your ideas and then access or insert it right into Google Docs to keep yourself on track. With a free account, you can create up to 5 diagrams.
Use Texthelp Study Skills To Sift Through Your Notes
When it comes time to sift through class notes and first drafts, it can be frustrating to have to go through them all one by one and extract what you need. But by using the Texthelp Study Skills highlighting tools add-on, you can speed up the sorting process significantly.

These highlighting tools allow you to highlight important points and then collect that highlighted text into a new document. This is handy as you can then start filling out your paper around the text. No need to copy and paste or toggle back and forth. An extremely helpful add-on for integrating your research notes with the actual writing of your paper.
Get EasyBib To Create Your Bibliography
As you write and incorporate your research and quotations, use EasyBib to create a bibliography. This eliminates the tedious task of manually documenting sources, especially when they can come in every possible type of format.
You can cite sources into MLA, APA, or Chicago style directly in the side bar. Easybib makes it as easy as pasting in the title, ISBN, or URL of your source.At the end, clicking on the Generate Bibliography button will add it neatly to the end of your paper. This way you can focus on the writing instead of the details of your citations.
Have ProWriting Aid Double Check The Text
When you’re ready to edit and proof read your finished draft, make sure you catch all errors by using the ProWriting Aid add-on.
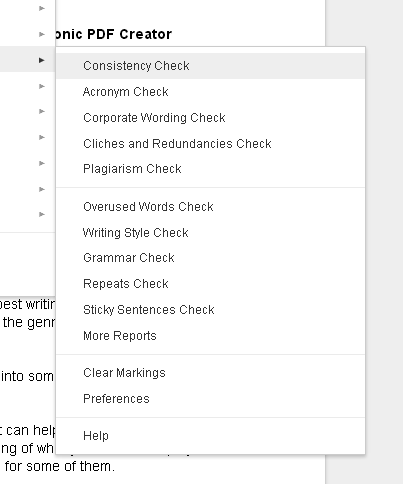
It not only performs instant checks for grammar, but also checks consistency, plagiarism and overused words. ProWriting Aid will provide you with a full report in the side bar. And from there, you can edit and rewrite your text as needed.
Consult Thesaurus To Give Your Writing A Boost
As an added measure, the Thesaurus add-on is helpful when adding the finishing touches to your writing. Just select a word in your document and activate the add-on. A side-bar will pop up with suggestions right within Google Docs, which is more convenient than having to Google around for another word in another window.
By no means do you have to pigeon-hole yourselves to these add-ons. All the offered add-ons are general enough to help with any writing need you may have. So check them out and let us know which ones help you the most.
 Photo Credit:
  Photo Credit:
 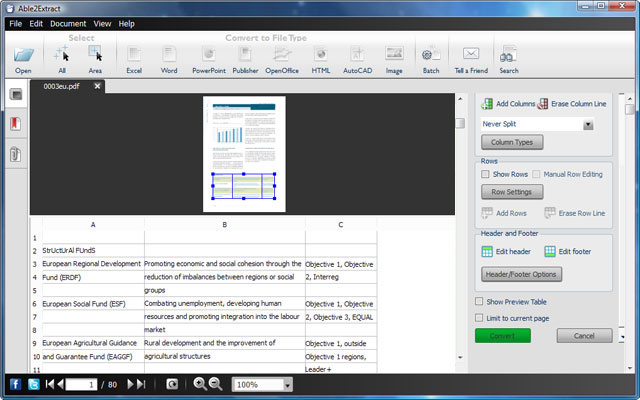 A
A 
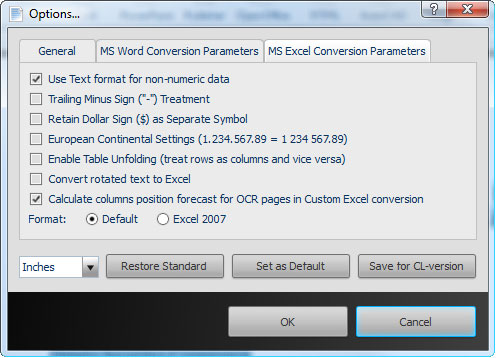
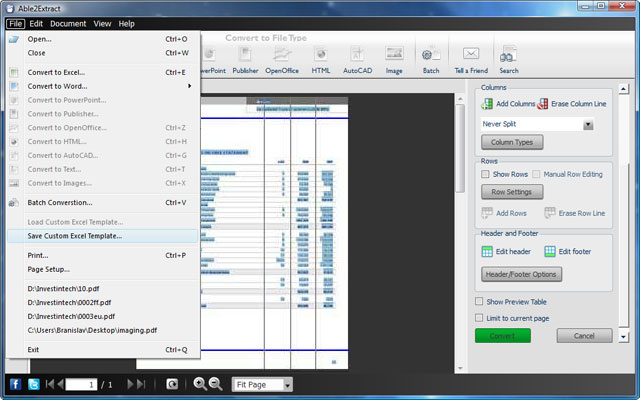 Moreover, its custom Excel template feature, you can set up your Excel conversion once, save it as a template (seen above), and use it on next year’s PDF statements, which, more than likely, will be formatted with the same layout.
 Photo Credit: