Year-end offer: Save 50% on Able2Extract Professional single license purchases before December 31!

How To Create A PDF Portfolio From Your Instagram Photos

Viewing Instagram On Laptop

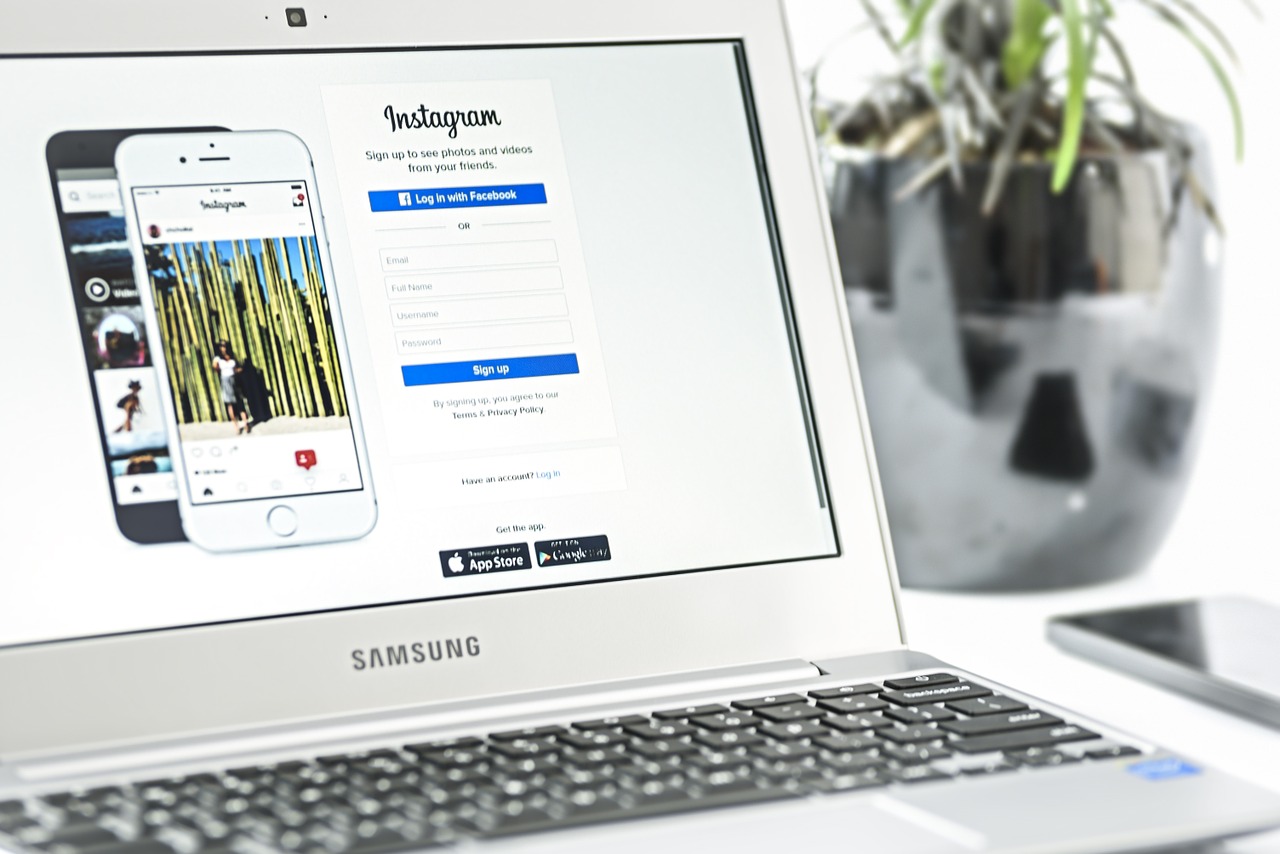
Instagram selfies are all the rage these days. The app has helped users (and celebrities) produce some of the most widely shared pictures on the web.

Who doesn’t like to take a fun pic when they’re out and about or when a memorable family moment crops up?

Yet for some, Instagram is a professional tool. From graphic designers and photographers to online entrepreneurs and real estate agents, Instagram is an extremely effective platform for marketing and spreading the word visually about what they have to offer.

Whether you have photos of your workspace, products or digital work, a PDF portfolio of your best Instagram shots is a super easy way to enhance your professional pitch and drum up some business. Here’s how.

1. Download Instagram Photos With DInstagram

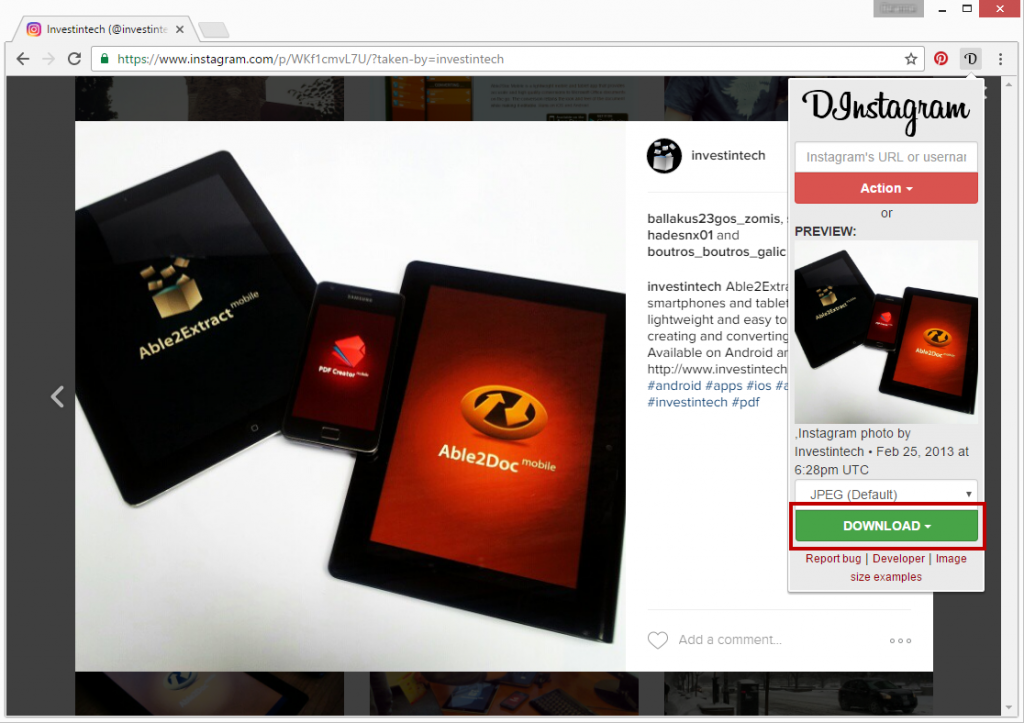
The first thing to do is download your Instagram photos. DInstagram is a Chrome extension that allows you to download individual Instagram photos.  To do this:

a) Install the extension on Chrome.

b) Log into your Instagram account (this will also work if you aren’t logged in and are viewing your account’s photos, too).

c) Click on the photo you want to download.

d) In the upper right hand corner, click on the DInstagram Select your format (choose either PNG or JPG). Select the image size (Big, Medium, Small). Click on Download.

Downloading Instagram Image

e) Save the photos onto your computer. Tip: create a new single folder for all your photos for easy access.

2. Convert Your Instagram Photos To PDF

The next step is actually getting those photos into the PDF format. This is where Able2Extract 10 comes in handy.

a) Open Able2Extract 10.

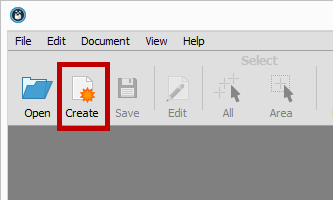
b) Click on the Create icon in the toolbar.

Creating PDF In Able2Extract

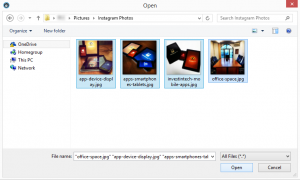
c) Select your image files. Able2Extract 10 will let you quickly open a number of images simultaneously just by selecting multiple files at once. Click on Open.

Opening Images In Able2Extract

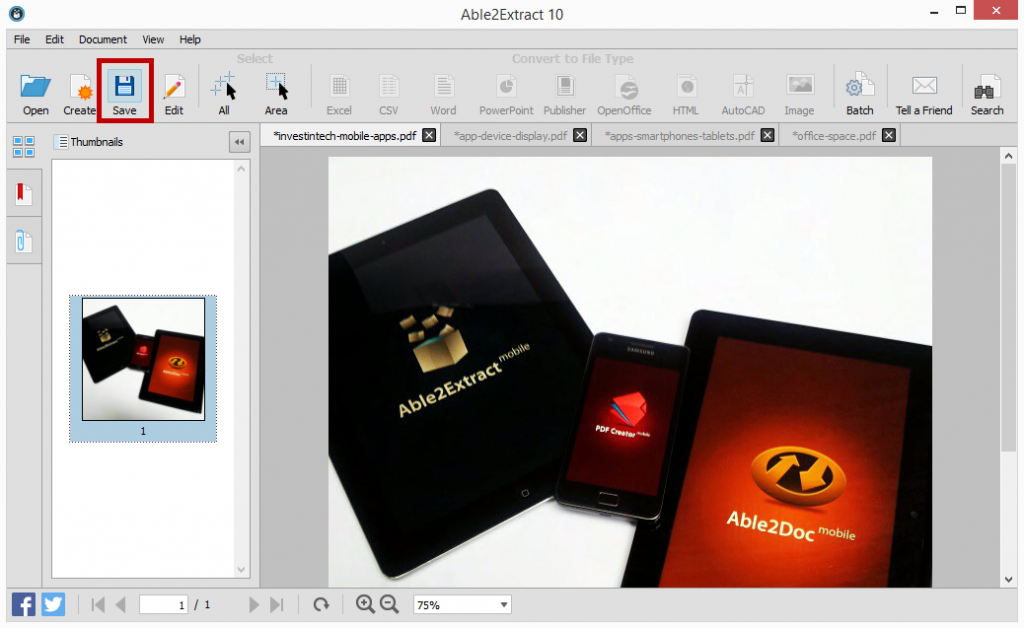
d) In each tab, click on Save.

Saving Images As PDF

Tip: Just as you did previously, create a new folder for all the PDFs you will be creating. This will give you a place to export any other future Instagram shots in PDF you may want to include when you update your portfolio.

3. Merge Your PDFs Into One

Now that you have all your image files saved as a PDF, you can start putting them together into one PDF file. You can continue on from Able2Extract. No need to exit the application. You can close off all but one of the tabs.

In that one tab you have left opened,

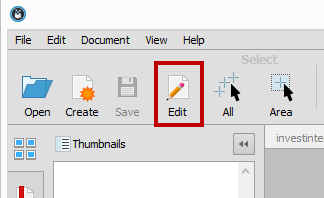
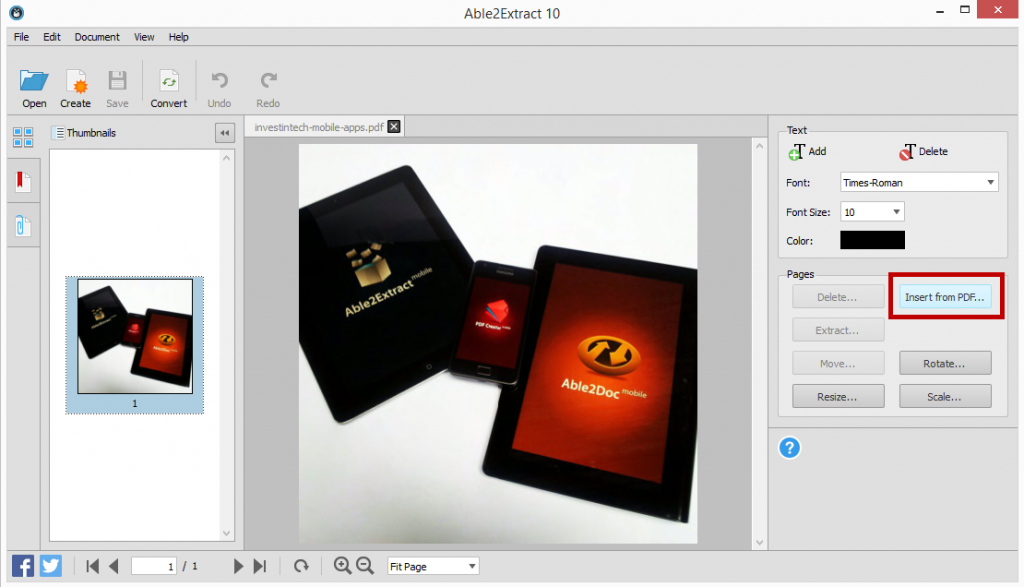
a) Click on the Edit icon from the toolbar. This is the file from which you will be creating your PDF portfolio. You can rename the file later on as needed; no need to worry about that just yet.

Editing PDFs In Able2Extract

b) Click on the Insert from PDF… option in the Editing panel. One by one, you can add your newly created PDFs to the file by selecting it and clicking on Open.

Inserting Pages Into PDF

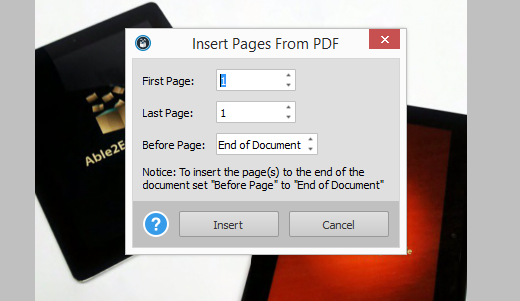
In the pop up dialog, leave the value in both page fields to 1 (it will be the first and last page you insert). You can decide the order of your images by using the Before Page field:

Merging PDF Pages Together

c) Once all your PDF photos are inserted, click on the Save icon once again. Or as mentioned above, you can rename the file by going to File > Save As… and renaming your file.

Renaming PDF In Able2Extract

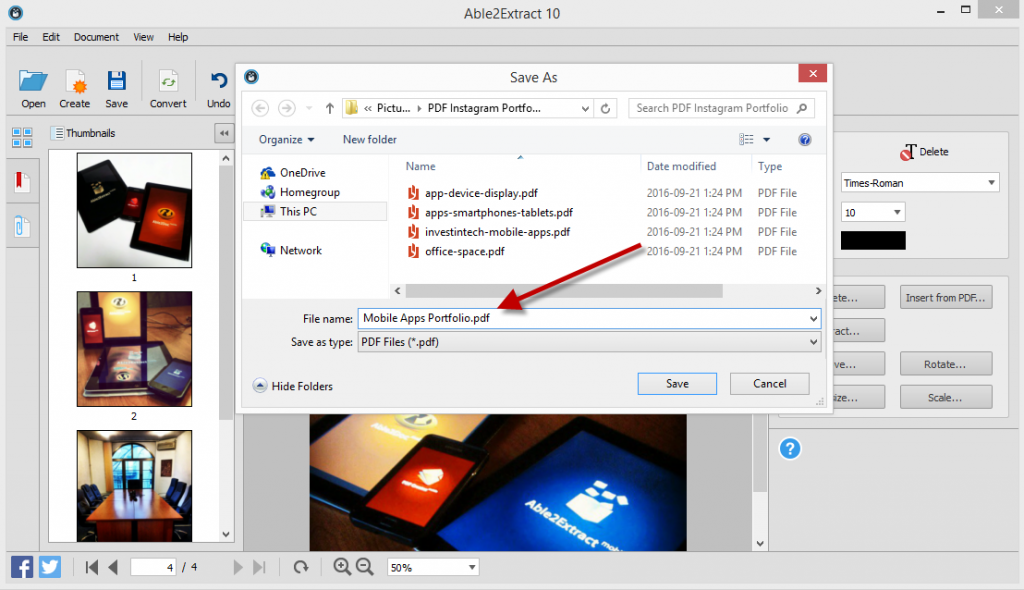
The final result? A professional looking PDF portfolio made from some of your best images:

Viewing PDF Portfolio In Able2Extract

You can repeat the above steps in this third section to get other PDF content into the portfolio for a complete look. Add a title page, PDF pages with company information, a section on your services, testimonials from clients or even add a page with a list of publications that have featured your products.

How effective your portfolio becomes is up to you, so show off your best stuff!

How To Remove/Purge Unused CAD Blocks?

Part 11 of 13 in our How To Use AutoCAD series

While working on our designs, we may find ourselves in a situation where we create blocks that we don’t end up using.  That’s why it’s beneficial to clean up the drawing and remove unused blocks, layers, shapes, linetypes and other objects.

This can be efficiently done using the “Purge” command, which identifies and removes the unused items.

1.To access the “Purge” command, click on the application button, on the top left corner of the AutoCAD window. Then go to “Drawing Utilities” > “Purge”.

AutoCAD Application Button

2.You’ll be presented with a pop up. Leave the “View items you can purge” checked and from the box below choose items that you would like to remove. The “Purge” command identifies all items not used in the drawing.

3.Click on “Blocks”, and select either “Purge” or “Purge All”.

4.When prompted, choose “Purge this item”.

In certain cases, there may be items nested (located) inside other items. You can easily remove those by checking the “Purge nested items” check box. To further master your drawing output skills, read this tutorial on How to Clean Up Your AutoCAD Drawing.

How To Create A Custom Keyboard Shortcut?

Part  10 of 13 in our How To Use AutoCAD series

Becoming a master in AutoCAD means that you should be able to incrementally improve your skills and thus, your productivity. Even though some things may be difficult to learn at first, eventually it’ll become second nature and  you’ll forget about tracking down the location of your favorite tools on the dashboard.

One of the things you can do to instantly increase your drafting speed is to create custom keyboard shortcuts for existing commands.  As part of our How to Use AutoCAD series, we’re here to show you how to go about creating them.

This is easily accomplished through AutoCAD’s Customize User Interface (CUI) feature.

Customizing AutoCAD Interface

1. To access CUI, enter “cui” in the command line and press Enter. Alternatively, go to “Manage” tab, and under Customization panel click on the “User Interface” button.

2. In the command list panel type the command that you would like to assign a keyboard shortcut to. For example, type in “Hatch”. Locate it on the menu below and left click to see its button image and properties.  As you can see from the properties panel on the left, there is no keyboard shortcut assigned to this command. We’re going to now enable a custom keyboard shortcut for this command.

3. In the “Customization in All Files” panel, expand the last item in the list – Partial Customization Files. Now expand the list in the following order: “Custom” > “Keyboard Shortcuts” > “Shortcut Keys”.

AutoCAD Shortcut Keys

4. Click and drag the desired command from the “Command List’ menu to the “Shortcut Keys” folder above. You should see your command in the properties menu on the lower right side.

Assigning Custom AutoCAD Shortcuts

5. As you can see there is an “Access” command under which there is a “Key(s)” box. Click on it and then on the three dots  which will appear to the right. You can now specify your keyboard shortcut for this command. Hit “Apply” and then “OK”.

Besides assigning custom shortcuts to existing commands, you can even create your own custom commands and macros and assign them your favorite keyboard shortcuts. This tutorial further explains the process:  How to Create a Custom Command.

How To Place Horizontal And Vertical Dimensions Onto A Drawing?

AutoCAD Technical Design

Part 9 of 13 in our How To Use AutoCAD series

Placing dimensions in AutoCAD is essential for documenting your drawing. AutoCAD 2016 offers the same dimensions as the previous versions, that is: linear, aligned, angular, arc, radius, diameter, ordinate and jogged.

Using the “Linear” dimension command, you can create and place a horizontal, vertical or rotated dimension line.

You can accomplish this task by following these simple steps:

1.Locate the dimensioning tools in the Annotation panel, on the Home tab. Click on the drop-down arrow and choose “Linear”.  This will give us a horizontal or vertical distance between the selected points.

Locating AutoCAD Dimensioning Tools

2.Click on the snap points to specify the dimension line location.

3.Once you specify the dimension points, you have several choices: if you pull to the right, you’ll get horizontal measurement; if you pull upwards you’ll get vertical measurements.

4.Left click to complete the dimensioning and continue with your work.

In practice, you’ll probably have to create various dimensions, as well as utilize different dimension styles, depending on your project. For an all encompassing guide on using this AutoCAD feature check out CAD Tutor’s  AutoCAD Dimensioning Tutorial.

How To Quickly Create Perfectly Parallel Lines, Parallel Curves And Concentric Circles?

Part  8 of 13 in our How To Use AutoCAD series

While working in AutoCAD, you’ll often come across a situation where you need to draw perfectly parallel lines, rectangles or circles. Whether they’re for designing a structure, designing a machine part, or creating an object, precision is the goal.

Since it’s extremely important to be as accurate as possible when working on your drawings, the best way to quickly create perfectly parallel shapes is by using the “Offset” command.

The “Offset” command in AutoCAD 2016, is located on the bottom right of the Modify panel, on the Home tab.

Locating AutoCAD Offset Command

Here’s how to use the Offset command:

1.Draw a shape that you would like to offset.

2. Click on the Offset command (bottom right on the Modify panel).

3. Select the Offset distance. You can do this in two ways. The first is to enter the distance manually into the number box. The second way is to left click on a blank space in the drawing window and then move your cursor in any direction.

4. Select the object to offset. Left click on the object and you will get a perfectly parallel copy.

Using AutoCAD Offset


As a general rule of thumb, don’t forget to use Offset when drawing stairs, concentric circles or any other element. This command will save you a ton of time editing and re-adjusting your drawing by getting them right the first time around.