


Part 5 of 13 in our How To Use AutoCAD series
One of the great things about AutoCAD is that it can be used to design drawings meant for different types of industries. And because AutoCAD designs can be intended for any structure under the sun, the material being used or involved in the design’s construction can vary greatly.
This poses an interesting situation when AutoCAD users need to fill in the hatches of their drawings. These hatches represent the real material to be used. So getting the hatch patterns just as accurate as the drawings themselves is important.
Now, although AutoCAD offers plenty of hatch patterns on its own, sometimes we may want to personalize our drawings and implement our own hatch patterns. You can do this by following these simple steps:
1.In your AutoCAD document, draw a desired pattern using a tool from the Draw panel.
2. In the Block panel, click on the “Create” command, located in the top right corner.

3. Name your pattern and click “OK”. On the pop-up, choose “Select objects”.
4. Click on your drawing until it gets light blue, and hit Enter.
5. Now select “Pick point” and place the cursor on the bottom left corner of your pattern drawing.
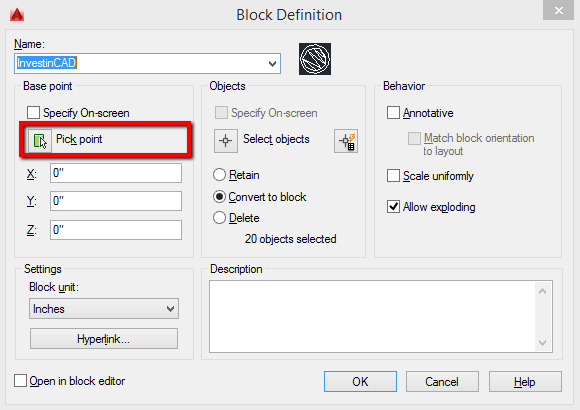
6. Hit “OK”.
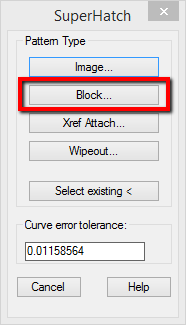
7. Go to the “Express Tools” tab > Draw panel > Super Hatch.

8. Choose “Block” as your desired pattern type, select your block by name and hit “OK”.
9. Fit your pattern by following instructions. When you’re satisfied hit Enter.
10. Click on the desired area that you want to hatch and once selected, hit Enter.
All done! For advanced users who are interested in more hatch pattern customization options, check out this tutorial from Ellen Finkelstein.